In this post, we will show you how you can install Hortonworks Data Platform on AWS.
You can also watch the video of this tutorial here
We start with three machines. We could install Hadoop on these machines by manually downloading and configuring them, but that’s very insufficient. So either we could use Cloudera manager or Ambari. In this tutorial, we are going to use Ambari.
On the first machine, we are going to install the Ambari server. For that, we need to buy these three instances at Amazon and we will follow the Ambari guidelines.
Ambari will then install all the components that are required in other two machines.
Please note, we will use 16 GB ram machines so that installation goes smoothly.
Let’s get started.
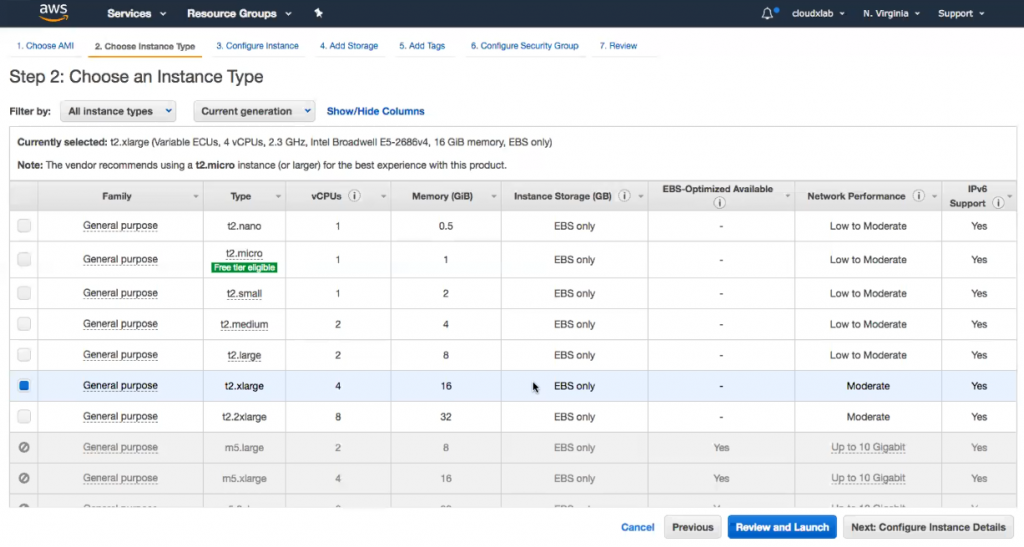
Step 1 – Launch 3 instances of t2.xlarge type
AWS gives us these various configurations. The one which we are going with is 16 GB RAM which is t2.xlarge. You can see how AWS console will look like
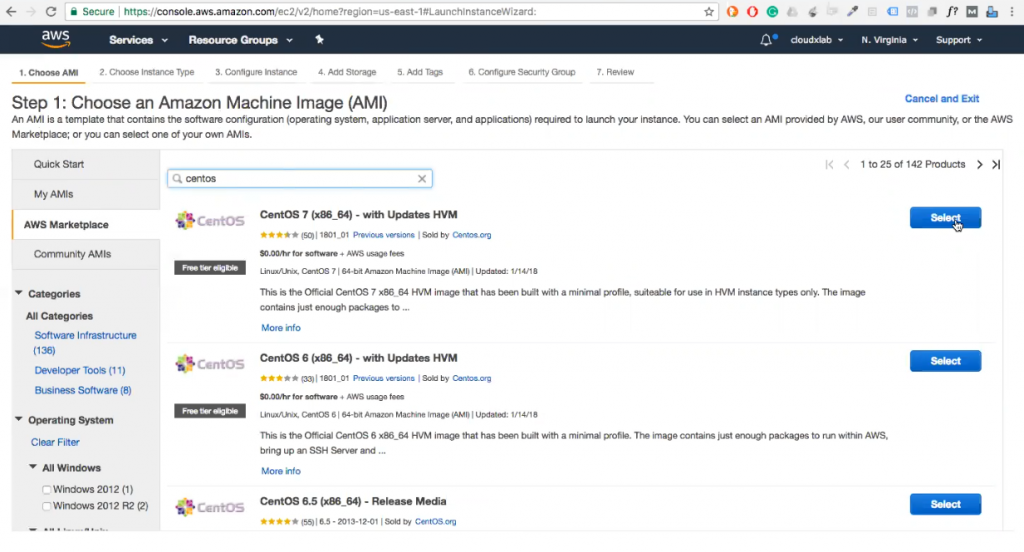
As you can see in the above image, we have selected the centos 7. Now the next step is to select the instance type. As stated earlier, we are going with t2.xlarge instance type.
In the next step, we will add storage of 100 GB. Please make sure that you select Magnetic volume type because SSD will cost more and provide less storage. For a reference, HDFS will consume 3 GB storage in order to give you 1 GB of storage, therefore, it makes more sense economically to go with the magnetic value type.

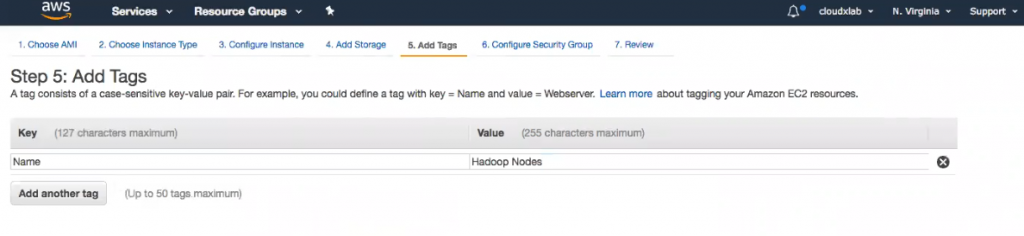
In the next step, we give name to the server.
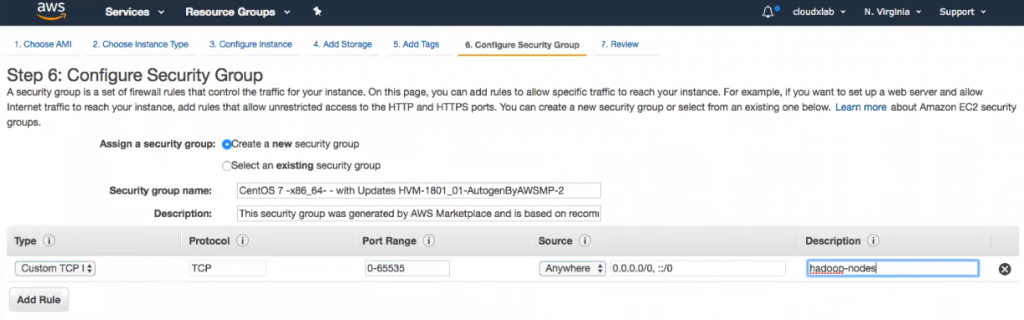
After you give a name to the server, the next step is to create a security group. Here, we are allowing all the ports so that there is no restriction.
In the next step, you need to create a new key pair.
Amazon provides you a feature of the private & public key. It takes away the headache of login every time on each machine. It will generate a private-public key and give you the private one and it will save the public key on all the machines. This will allow you to connect to your instance securely and easily.
You then download the key pair for this purpose and save it in your home directory later. And you use this to log in to your cluster.
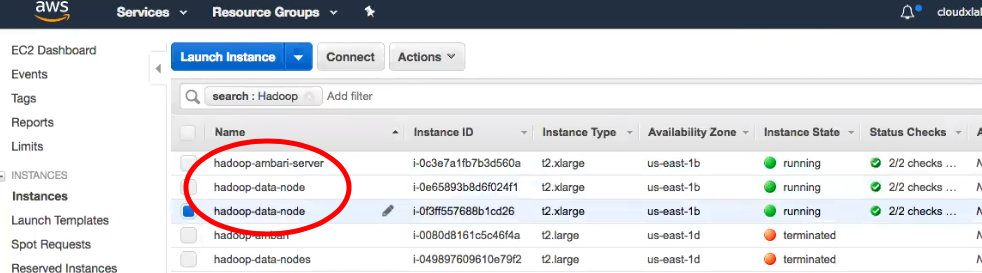
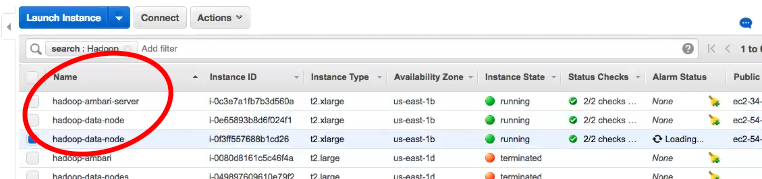
As you can see below, we have successfully initialized the three instances.
Step 2 – Change permission of the downloaded key so that nobody else can access it
chmod 400 hadoop-hdp-demo.pem (Here you are not allowing anyone to read or view)
Step 3 – Give the name to servers
Name one of the nodes to “hadoop-ambari-server” and others two to “hadoop-data-node”
 Step 4 – Login to each of the node using the downloaded private key
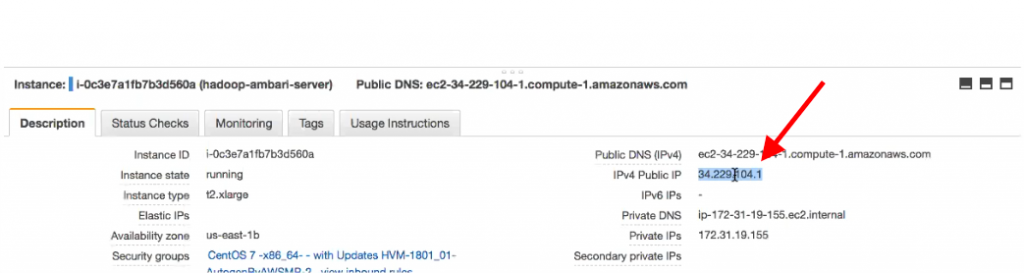
In this step, you need to provide the private key and your public IP address. For example, ssh -i ~/hadoop-demo.pem centos@54.236.213.53
You can locate the Public IP address on AWS server as shown in the image below
Step 5 – Run “sudo yum update” to update the packages
It will update the packages on all the machines because the instances that have been given by Amazon are a bit old, thus we need to update the software on these machines. Yum is the package manager on Red Head (Centos machine). You will run this command on all of the machines.
Step 6 – Make centos sudoers on all machines
Sudoer is somebody who can do administrative tasks, therefore, we make centos the sudoer.
sudo visudo

centos ALL=(ALL) ALL
With these commands, centos will be able to run command anywhere without any restriction.
Step 7 – Now on each machine, verify if the hostname is properly set
hostname -f
With the above command, it will give the full details of the hostname.
Step 8 – Edit the Network Configuration File
In this step, we are setting up the hostname properly.
sudo vi /etc/sysconfig/network

NETWORKING=yes

HOSTNAME=<fqdn>
Please make sure to replace <fqdn> with a proper hostname. You can get this detail from the command used in step 7 i.e hostname -f
Step 9 – Configuring IP tables
sudo systemctl disable firewalld

sudo service firewalld stop
Here we are disabling the firewall. It is always safer to disable the firewall when you install or configure services.
Step 10 – sudo yum install unzip
Step 11 – sudo yum install wget
Step 12 – Disable SELinux
sudo setenforce 0 // For current session

sudo vi /etc/selinux/config

SELINUX=disabled // Permanent
Save the file.
We have to reboot the machine.
sudo vi /etc/profile
Add umask 0022 in the last ## An umask value of 022 grants read, write, execute permissions of 755 for new files or folders
Step 13 – Install NTP
sudo systemctl disable chronyd.service
sudo yum install -y ntp && sudo systemctl start ntpd && sudo systemctl enable ntpd

sudo systemctl disable chronyd.service
So that NTP will be up during reboot
Step 14 – Setup passwordless access for Ambari
Copy the private key to the node where we will install ambari server
scp -i ~/hadoop-demo.pem hadoop-demo.pem centos@54.236.213.53:
Now see if you are able to login to other two nodes from ambari server node
ssh -i hadoop-demo.pem centos@ip-172-31-54-74.ec2.internal

ssh -i hadoop-demo.pem centos@ip-172-31-52-125.ec2.internal
Step 15 – install mysql server on the last datanode
wget http://repo.mysql.com/mysql-community-release-el7-5.noarch.rpm

sudo rpm -ivh mysql-community-release-el7-5.noarch.rpm

sudo yum update

sudo yum install mysql-server

sudo systemctl start mysqld

mysql_secure_installation
(set root password, disallow remote root login, remove test database and anonymous users)
Step 16 – Create databases for oozie
mysql -u root -p

CREATE USER 'oozie'@'%' IDENTIFIED BY 'oozie123';

GRANT ALL PRIVILEGES ON *.* TO 'oozie'@'%';

FLUSH PRIVILEGES;

CREATE DATABASE oozie;
Step 17 – Create a database for hive
mysql -u root -p

CREATE USER hive@'%' IDENTIFIED BY 'hive123';

GRANT ALL PRIVILEGES ON *.* TO 'hive'@'%';

FLUSH PRIVILEGES;

CREATE DATABASE hive;
Step 18 – Create a database for ranger
mysql -u root -p

CREATE USER ranger@'%' IDENTIFIED BY 'ranger123';

GRANT ALL PRIVILEGES ON *.* TO 'ranger'@'%';

FLUSH PRIVILEGES;
Step 19 – Download and check mysql connector on ambari server host
sudo yum install mysql-connector-java*

ls -lh /usr/share/java/mysql-connector-java.jar
Step 20 – Install java on each machine apart from ambari server
wget --no-cookies --no-check-certificate --header "Cookie: gpw_e24=http%3A%2F%2Fwww.oracle.com%2F; oraclelicense=accept-securebackup-cookie" "http://download.oracle.com/otn-pub/java/jdk/8u161-b12/2f38c3b165be4555a1fa6e98c45e0808/jdk-8u161-linux-x64.rpm"

sudo yum localinstall jdk-8u161-linux-x64.rpm

sudo rm jdk-8u161-linux-x64.rpm
Step 21 – install JCE on all hosts apart from ambari server
http://www.oracle.com/technetwork/java/javase/downloads/jce8-download-2133166.html
sudo unzip -o -j -q jce_policy-8.zip -d /usr/java/jdk1.8.0_161/jre/lib/security
Step 22 – Install Ambari server
sudo wget -nv http://public-repo-1.hortonworks.com/ambari/centos7/2.x/updates/2.6.1.3/ambari.repo -O /etc/yum.repos.d/ambari.repo

sudo yum repolist

sudo yum install ambari-server

sudo ambari-server setup --jdbc-db=mysql --jdbc-driver=/usr/share/java/mysql-connector-java.jar

sudo ambari-server start
Summary
We launched 3 nodes with CentOS in AWS with at least 16 GB of RAM and 100 GB of Magnetic hard disk. We then installed Ambari 2.6 on one of the nodes. Finally, we opened all the ports for demo purpose.