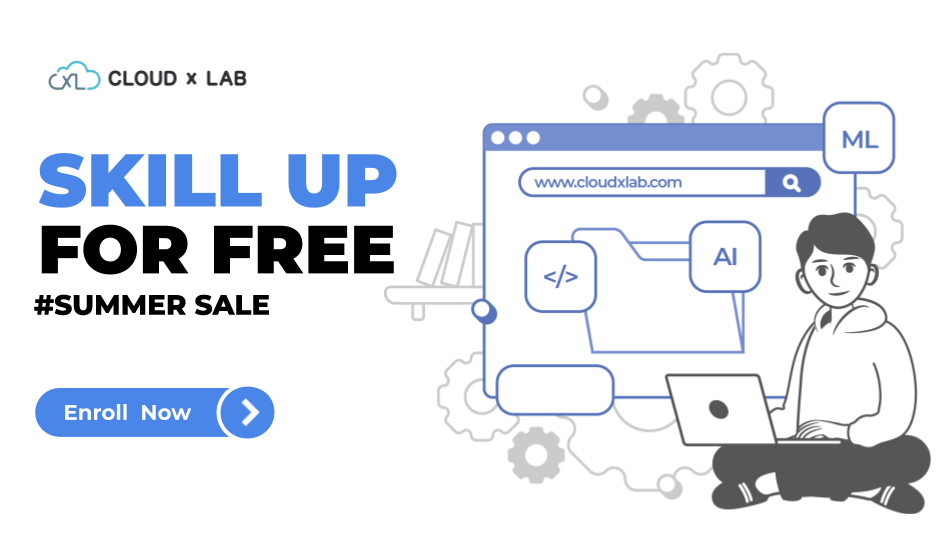
What is GPT3 and will it take over the World

GPT-3 is the largest NLP model till date. It has 175 billion parameters and has been trained with 45TB of data. The applications of this model are immense.

GPT3 is out in private beta and has been buzzing in social media lately. GPT3 has been made by Open AI, which was founded by Elon Musk, Sam Altman and others in 2015. Generative Pre-trained Transformer 3 (GPT3) is a gigantic model with 175 billion parameters. In comparison the previous version GPT2 had 1.5 billion parameters. The larger more complex model enables GPT3 to do things that weren’t previously possible.

Continue reading “What is GPT3 and will it take over the World”

How to label custom images for YOLO – YOLO 3

In this blog we will show how to label custom images for making your own YOLO detector. We have other blogs that cover how to setup Yolo with Darknet, running object detection on images, videos and live CCTV streams. If you want to detect items not covered by the general model, you need custom training.

In our case we will build a truck type detector. There are 4 types of trucks we will try to identify

Continue reading “How to label custom images for YOLO – YOLO 3”

Object Detection with Yolo Python and OpenCV- Yolo 2

we will see how to setup object detection with Yolo and Python on images and video. We will also use Pydarknet a wrapper for Darknet in this blog. The impact of different configurations GPU on speed and accuracy will also be analysed.

This blog is part of series, where we examine practical applications of Yolo. In this blog, we will see how to setup object detection with Yolo and Python on images and video. We will also use Pydarknet a wrapper for Darknet in this blog. The impact of different configurations GPU on speed and accuracy will also be analysed.

Continue reading “Object Detection with Yolo Python and OpenCV- Yolo 2”

Setup Yolo with Darknet- Yolo 1

We will explore YOLO for image recognition in a series of blogs. This is the first one. In this blog, we will see how to setup YOLO with darknet and run it. We will also demonstrate the various choices you have with YOLO in terms of accuracy, speed and cost, enabling you to make a more informed choice of how you would want to run your models.

Setup Yolo with Darknet

The content in the blog is not unique. However if you are starting with YOLO, this is the first thing you need to do.

Continue reading “Setup Yolo with Darknet- Yolo 1”

How to build a Number Plate Reader – Part 2

In the previous blog of this series, we trained a model to identify a numberplate in a picture. Here we will learn how to use OpenCV and PyTesseract to get the final number from the plate.

We will start from where we ended in the last session. We had trained an ssd_inception model and used it Tensorflow Object Detection API to detect number plates.

Continue reading “How to build a Number Plate Reader – Part 2”

How to make a custom number plate reader – Part 1

In this duology of blogs, we will explore how to create a custom number plate reader.

In this duology of blogs, we will explore how to create a custom number plate reader. We will use a few machine learning tools to build the detector. An automatic number plate detector has multiple applications in traffic control, traffic violation detection, parking management etc. We will use the number plate detector as an exercise to try features in OpenCV, tensorflow object detection API, OCR, pytesseract

Continue reading “How to make a custom number plate reader – Part 1”

How to run object detection on CCTV feed

In this blog we explore how to run a very popular computer vision algorithm YOLO on a CCTV live feed.

In this blog we explore how to run a very popular computer vision algorithm YOLO on a CCTV live feed. YOLO (You Only Look Once) is a very popular object detection, remarkably fast and efficient. There is a lot of documentation on running YOLO on video from files, USB or raspberry pi cameras. This series of blogs, describes in details how to setup a generic CCTV camera and run YOLO object detection on the live feed. In case you are interested in finding more about YOLO, I have listed out a few articles for your perusal at the end of this blog.

Setup a CCTV with RTSP

This blog lists out in details methods to setup a generic CCTV camera with a live RTSP feed. Note the RTSP url, as we will need it in the later stages. The RTSP (

CCTV camera with RTSP
Continue reading “How to run object detection on CCTV feed”

Is there a better time than a Lock-down to Up-skill yourself?

As the world comes to a screeching halt due to the Covid-19 pandemic, it would be reasonable to suggest that there isn’t much to look forward to in the immediate future. As we lay within the confines of our homes, we realize how little it takes to upset the established order.

Continue reading “Is there a better time than a Lock-down to Up-skill yourself?”

Analyzing data of the global pandemic – COVID – 19 using Python

Covid-19 has been declared as a global pandemic. If you are interested to analyse the data by yourself, please follow the instructions below.

The data is made available to everyone at the locations given below.

The data files are in the form of four metrics and are available to download here:
Total confirmed cases:https://cowid.netlify.com/data/total_cases.csv
Total deaths:https://cowid.netlify.com/data/total_deaths.csv
New confirmed cases:https://cowid.netlify.com/data/new_cases.csv
New deaths:https://cowid.netlify.com/data/new_deaths.csv
The full dataset is available to download here:http://cowid.netlify.com/data/full_data.csv

In your Jupyter notebook, please follow the instructions given below. To avoid installations of Jupyter or any library, you can simply use CloudxLab – it gives 15 days free subscription.

Import the Pandas library

import pandas as pd

Now, load the data into a DataFrame

dataframe = pd.read_csv('http://cowid.netlify.com/data/full_data.csv')

Once the data has been loaded, you can perform various operations on it. Please see the image attached below to get an idea of the entire process.

The code for this is available here: https://github.com/cloudxlab/covid19/blob/master/Covid-19.ipynb