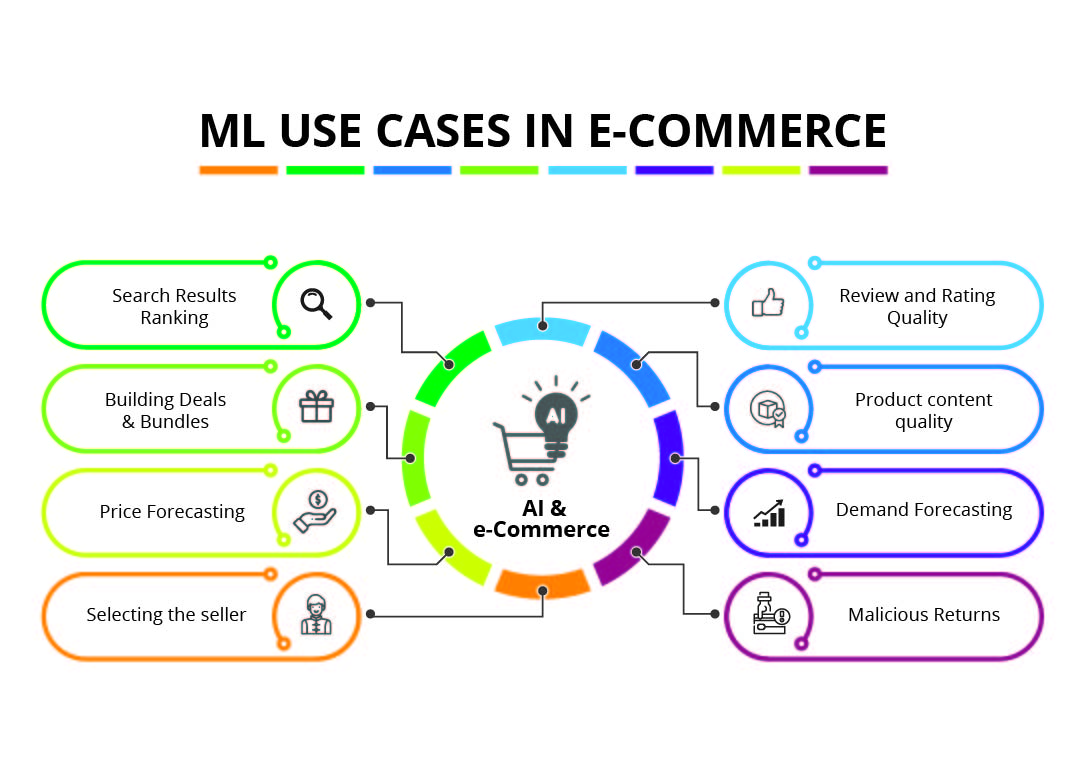
What computing did to the usual industry earlier, Machine Learning is doing the same to usual rule-based computing now. It is eating the market of the same. Earlier, in organizations, there used to be separate groups for Image Processing, Audio Processing, Analytics and Predictions. Now, these groups are merged because machine learning is basically overlapping with every domain of computing. Let us discuss how machine learning is impacting e-commerce in particular.
The first use case of Machine Learning that became really popular was Amazon Recommendations. Afterwards, the Netflix launched a challenge of Movie Recommendations which gave birth to Kaggle, now an online platform of various machine learning challenges.
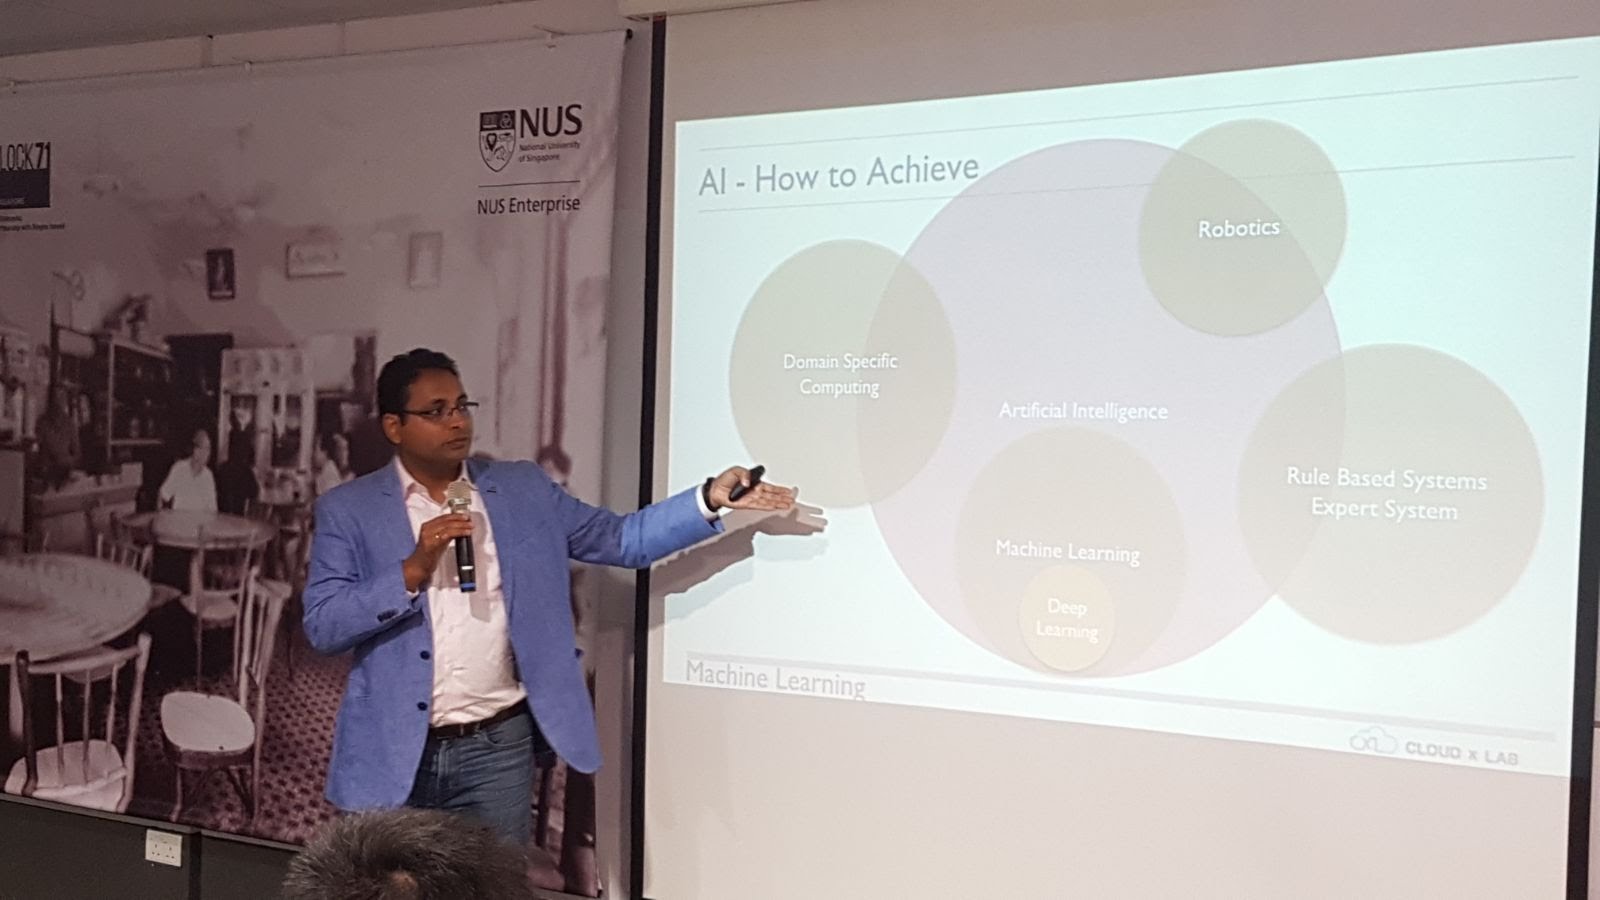
Before I dive deep into the details further, lets quickly brief the terms that are found often confusing. AI stands for Artificial Intelligence which means being able to display human-like intelligence. AI is basically an objective. Machine learning is making computers learn based on historical or empirical data instead of explicitly writing the rules. Artificial Neural networks are the computing constructs designed on a similar structure like the animal brain. Deep Learning is a branch of machine learning where we use a complex Artificial Neural network for predictions.
Continue reading “Use-cases of Machine Learning in E-Commerce”